Onboarding guide
This onboarding guide will walk you through the five steps required to sign up and complete your registration for Catalyst Package Manager (CPM).
Overview of the Onboarding Steps
-
Sign Up - Start the onboarding process
-
Corporate Data – Provide your organization’s basic information.
-
Registration – Enter your OpenID Connect (OIDC) details.
-
Node Setup – Log in to your Canton validator node and provide connection details.
-
Contract – Review and sign the required documentation.
Please follow the instructions carefully. If at any point you need assistance, please contact our support: catalyst-support@intellecteu.com
Step 1: Sign Up
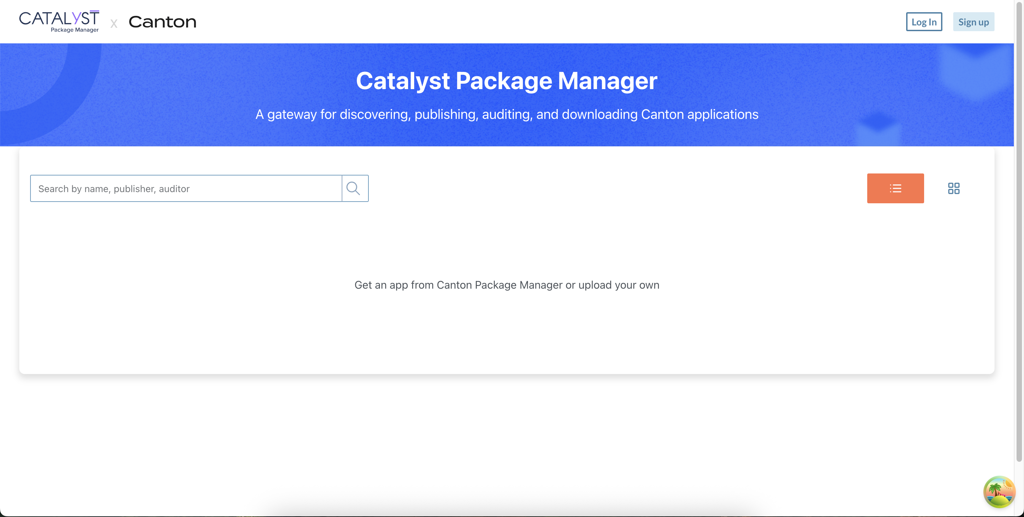
To begin the onboarding process, you must first access the CPM portal.
1 - Navigate to the CPM website at apps.catalyx.solutions
2 - Click the Sign Up button in the top right corner of the screen.
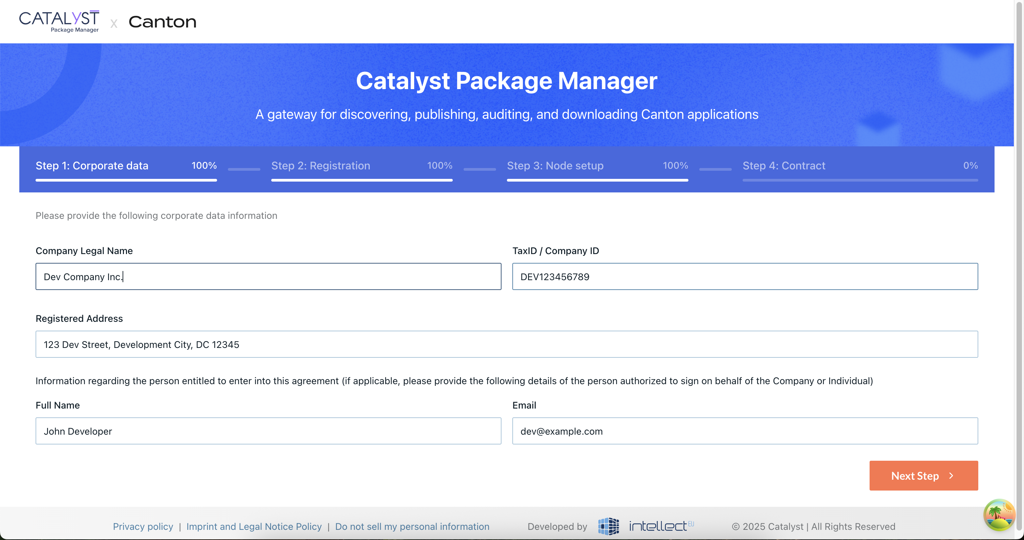
Step 2: Corporate Data
In this step, you will provide the necessary information about your organization. All fields are mandatory to proceed.
-
Company Legal Name - Enter your full legal company name as registered in your jurisdiction.
-
Tax ID / Company ID - Provide your official tax identification number or company registration number.
-
Registered Address - Enter the full registered address of your organization.
-
Full Name - Provide your full name as the primary contact person completing the onboarding.
-
Email - Enter your business email address. This will be used for all communication related to your onboarding.
Once all fields are filled in, click Next Step to continue to Step 3.
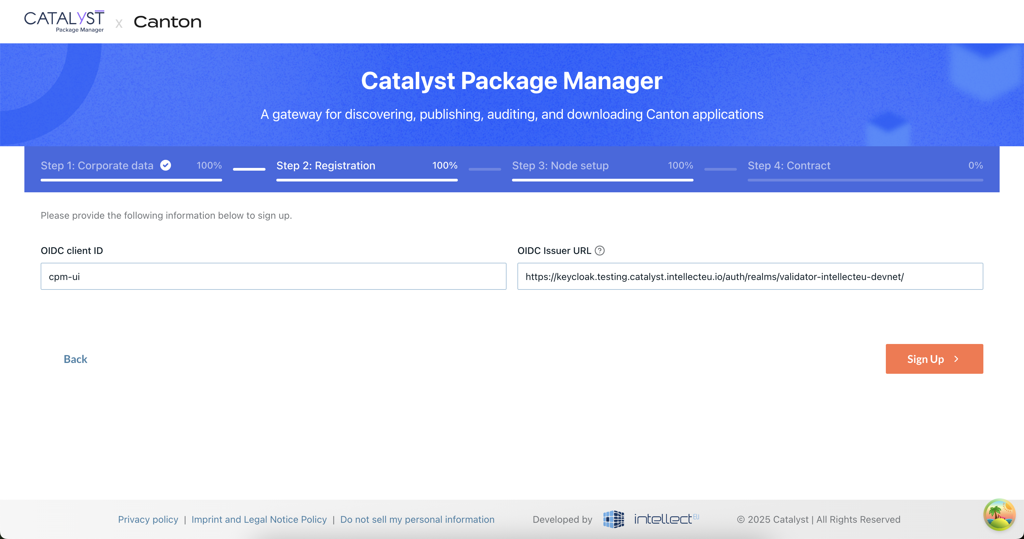
Step 3: Registration
Next, you will provide your organization’s OpenID Connect (OIDC) details. These are used to securely authenticate your organization.
-
OIDC Client ID - Enter the client ID assigned to your organization.
-
OIDC Issuer URL - Provide the URL of your OIDC identity provider (Issuer).
Once all fields are filled in, click “Next Step” to proceed to Step 4.
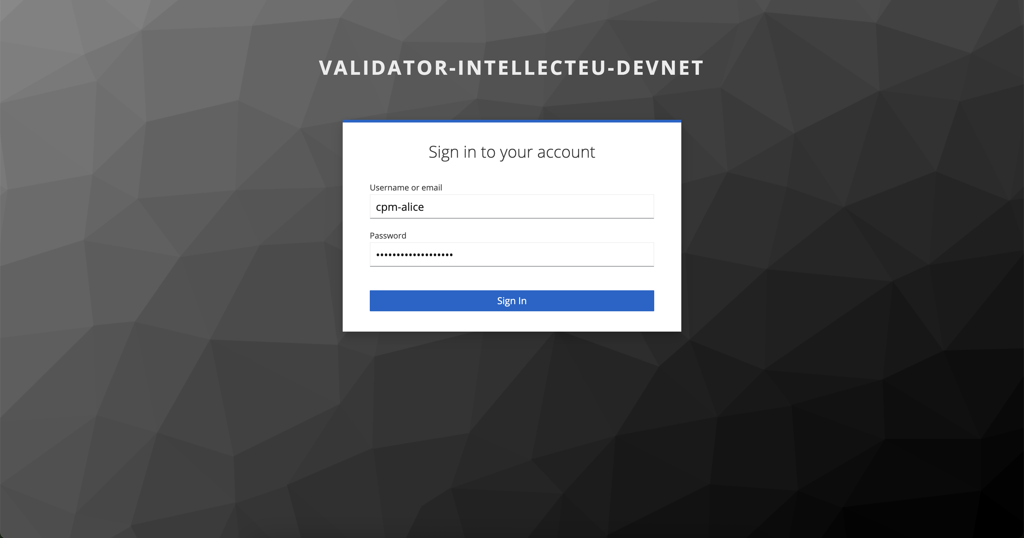
Step 4: Node Setup
After completing Step 3, you will be prompted to log in to your Canton validator node. This confirms your ownership and access to the infrastructure.
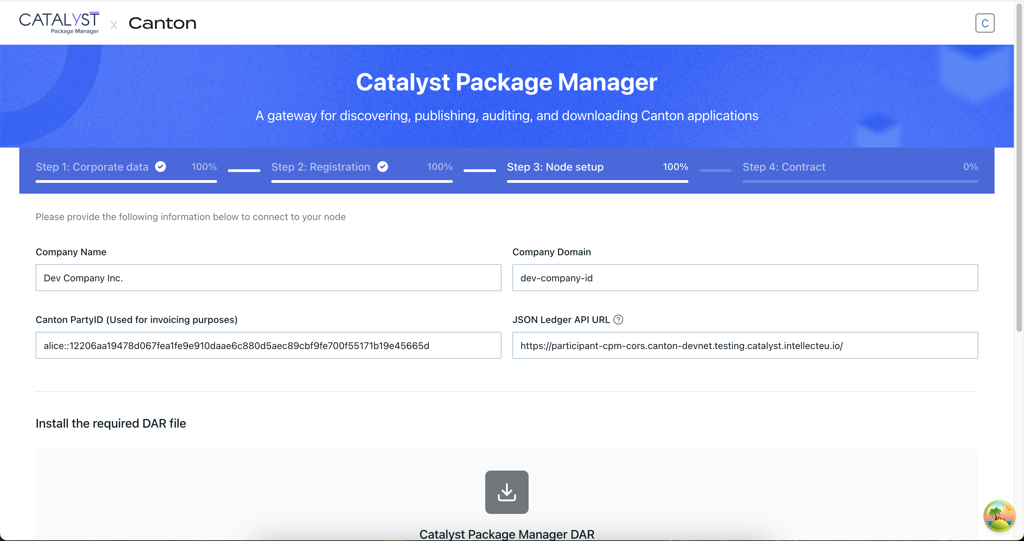
Once logged in, you will need to complete two sections:
Section 1: Node Information
-
Company Name - Your organization’s display name.
-
Company Domain -
<your official web domain> -
Canton Party ID - Used for invoicing purposes and identification within the Canton network. Enter the Party ID associated with your validator node.
-
JSON Ledger API URL - Provide the URL used to access your node’s Ledger API.
|
Configuring CORS for JSON Ledger API access is mandatory To allow the CPM user interface to communicate with your Canton validator node, you must configure Cross-Origin Resource Sharing (CORS) on your JSON Ledger API. Ensure that your JSON Ledger API is configured to allow requests from the CPM UI origin, including the required HTTP methods and headers. CPM UI Origin to be used:
At a minimum, your CORS configuration must:
Once CORS is correctly configured, continue with the node setup and proceed to the next step. |
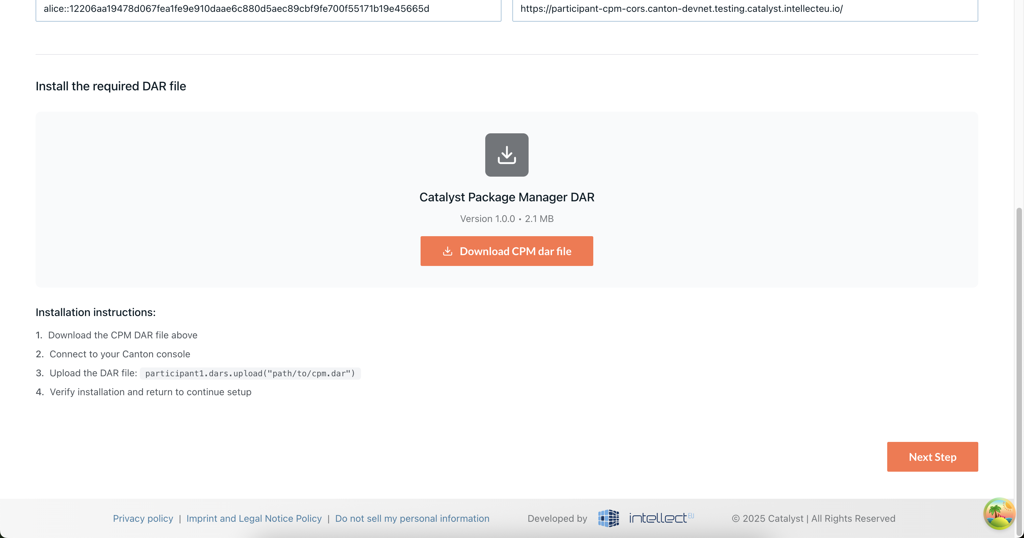
Section 2: Download Required Files
In this section, you will see the download link(s) for the required DAR files as well as installation instructions to follow on your validator node:
-
Download the CPM DAR file(s)
-
Connect to your Canton console
-
Upload the DAR file(s):
-
participant1.dars.upload.("path/to/cpm.dar")
-
-
Verify installation and return to continue setup
-
Follow the instructions carefully to ensure your node is set up correctly.
-
Once complete, click Next Step to proceed to step 5.
-
Step 5: Contract
In the final step, you will review, complete, and digitally sign the required documentation. In this step you will:

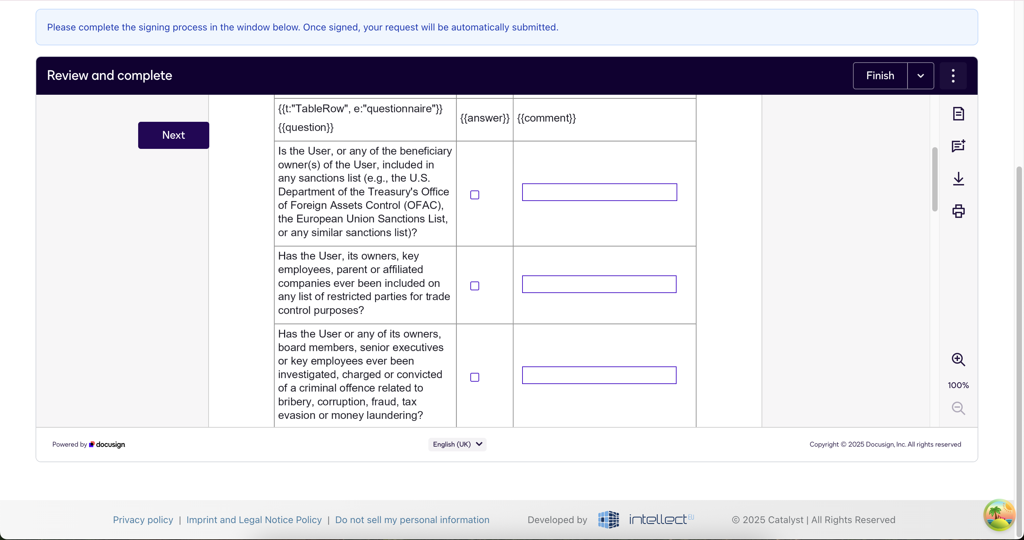
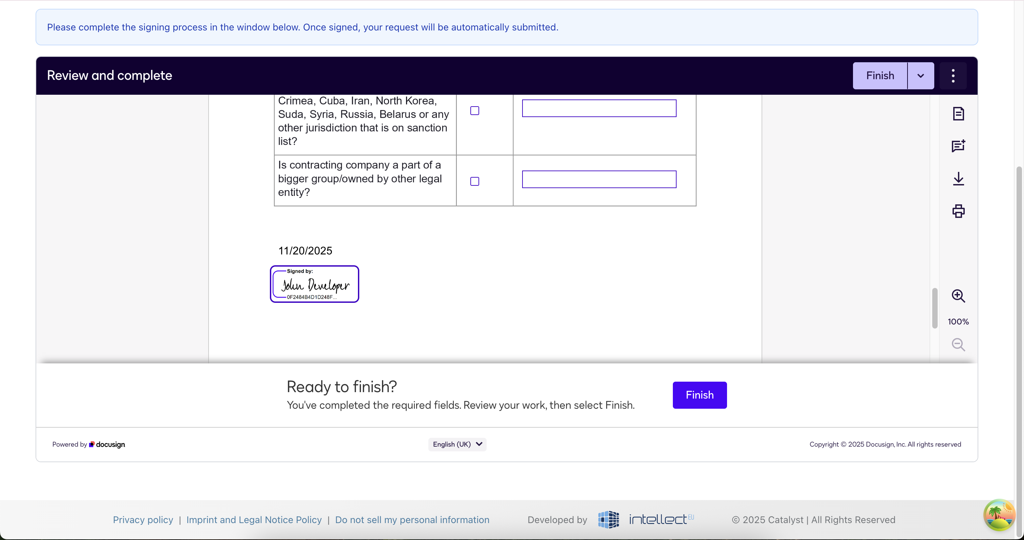
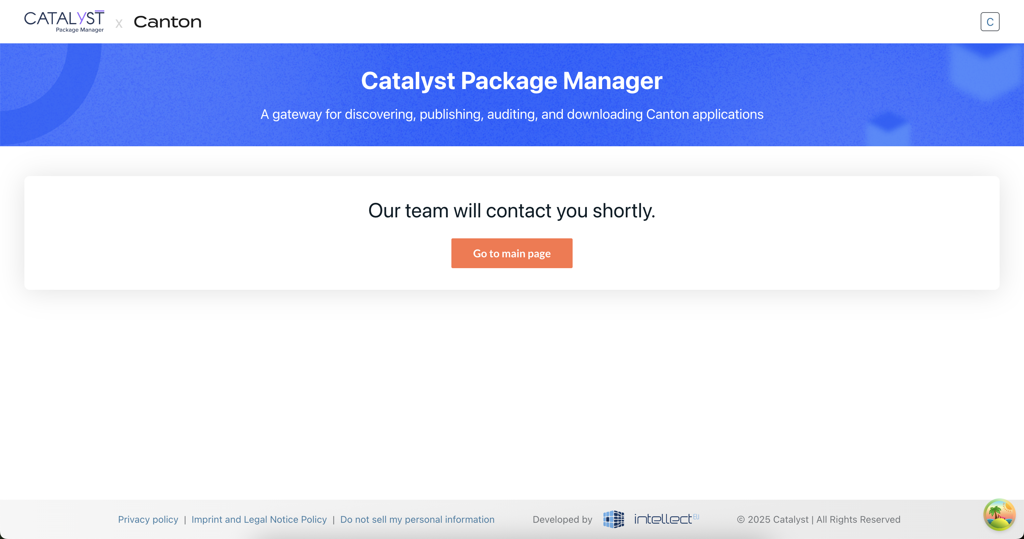
After completing all required fields and signing the documentation, click Finish to submit your request and complete the onboarding process.
Once submitted, the request is forwarded to the IntellectEU team for review.
After the review is completed, you will receive an email with the next steps.